Below are the full instructions to setup an intake form and pull in the profiles created from the form.
1.
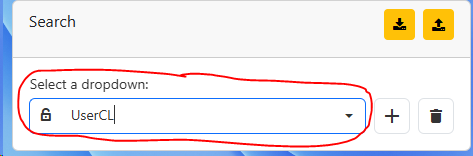
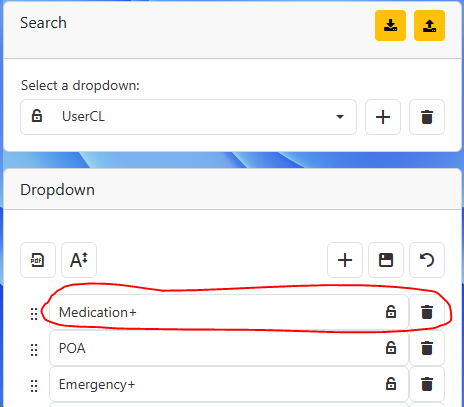
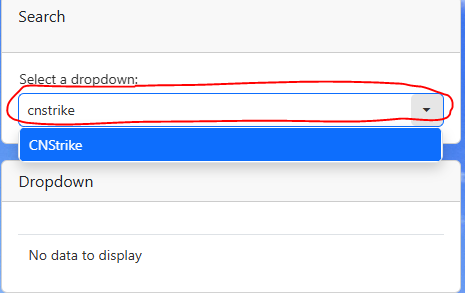
2.Search for UserCL in the drop down.
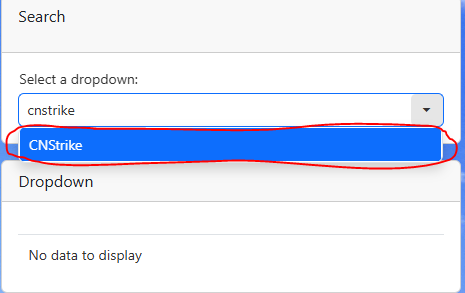
3.Select the UserCL drop down
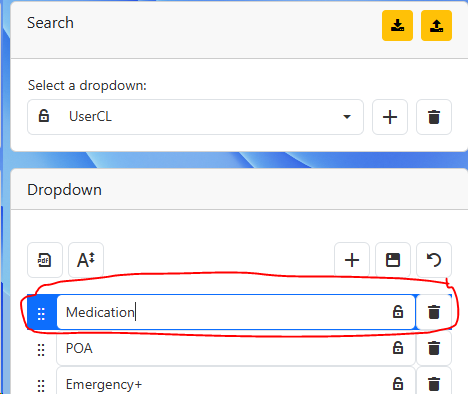
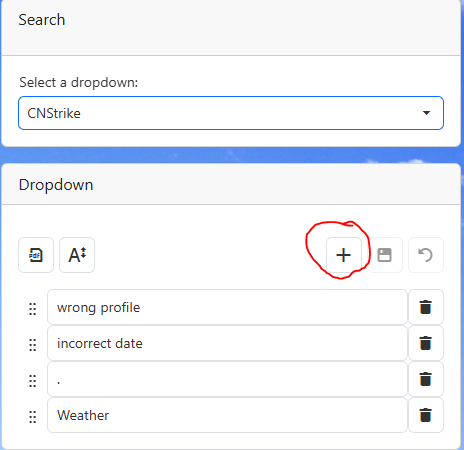
4.Click the plus button
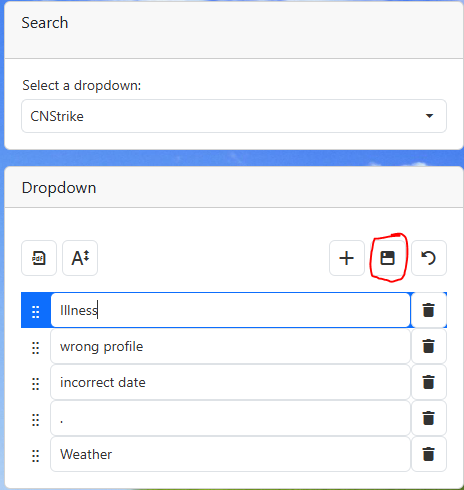
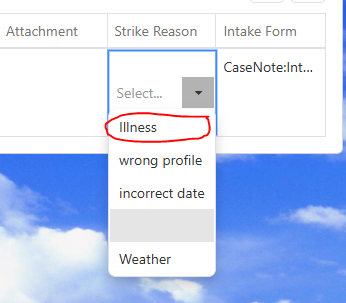
5.Enter the new information in the empty row
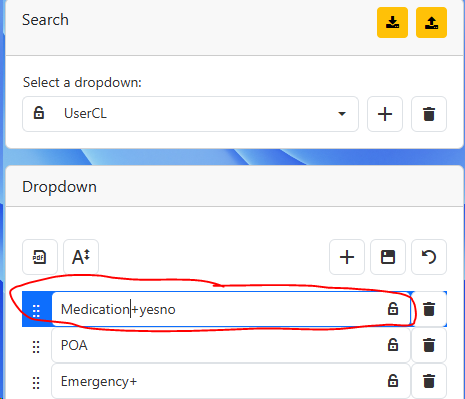
a.If you would like the UDP to be a drop down you can add a "+" to the end of the UDP name
b.If you would like the UDP to be a yes/no drop down you can add "+yesno" to the end of the UDP name
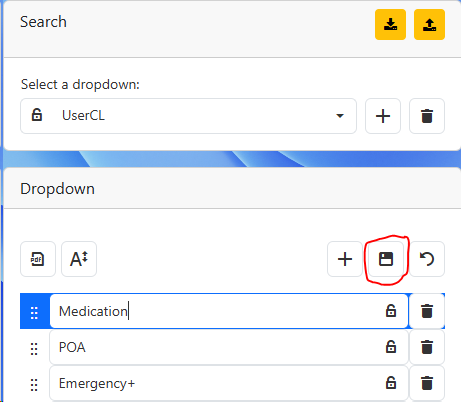
6.Click the save button
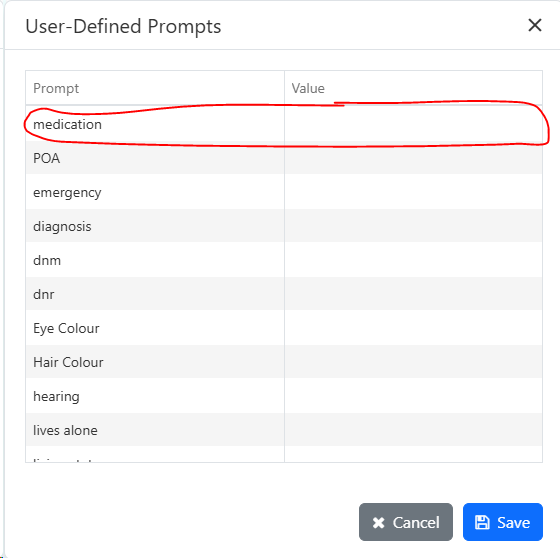
7.New UDP option is available in the UDP section of the clients profile
8.
|


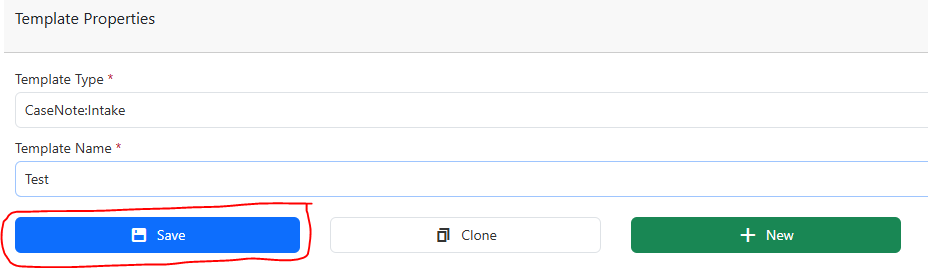
2.Open a Template
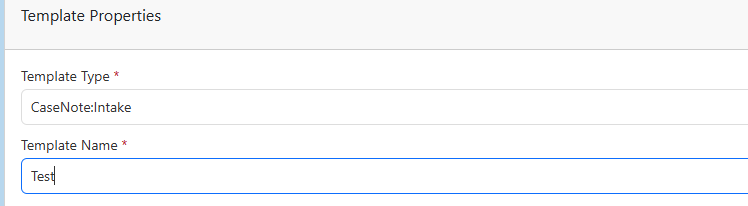
2.Choose a Template Type
3.Click the new button 4.Give the template a name
|

2.Select a Template Type 3.Select a Template
|
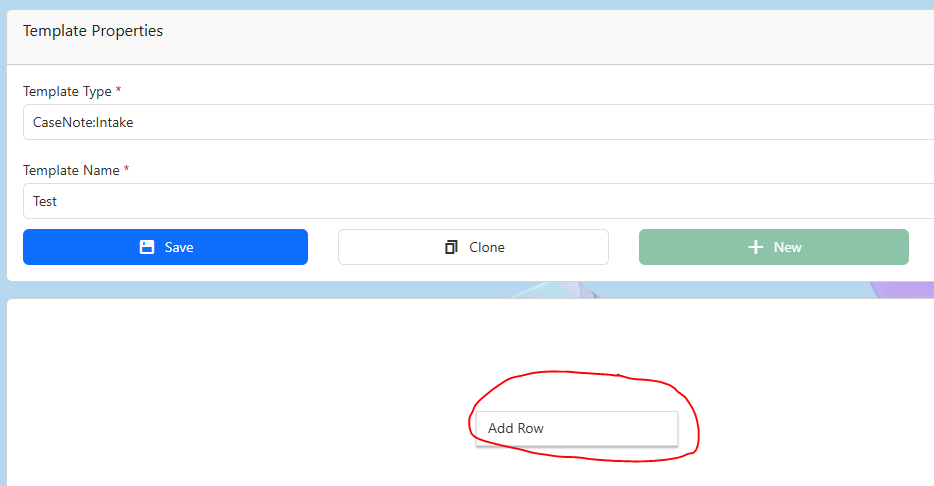
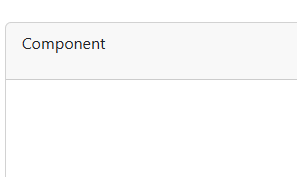
3. Add Rows
a.Right click the large white box below template properties b.Click Add Row
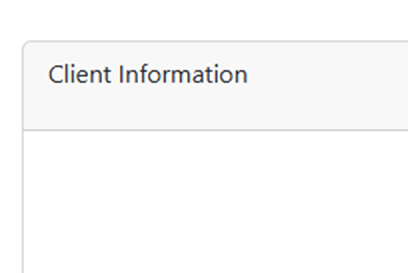
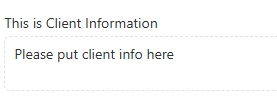
c.Click on Component to change the sections name.
|
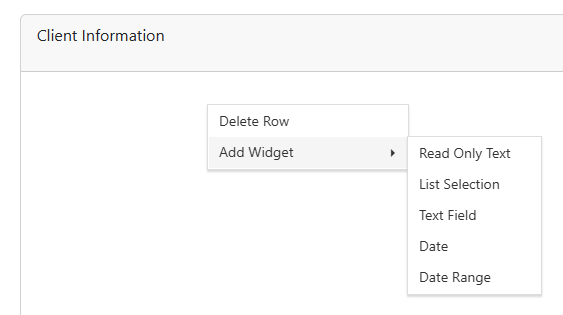
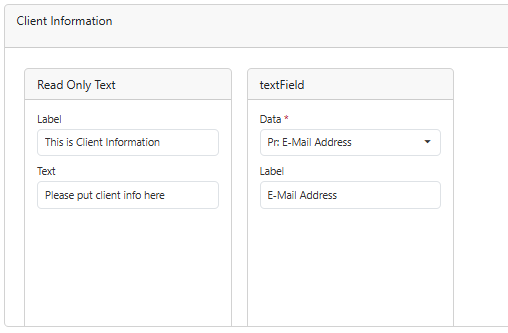
a.Right click inside of the row to add a widget
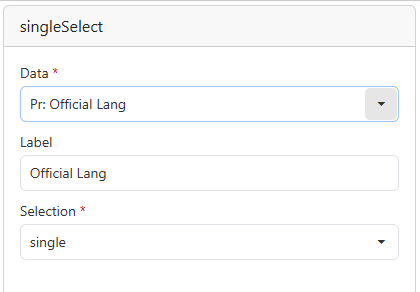
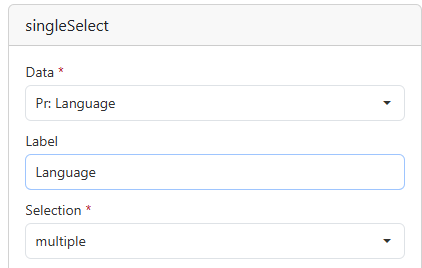
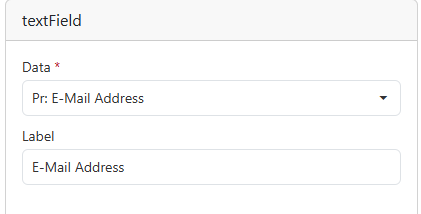
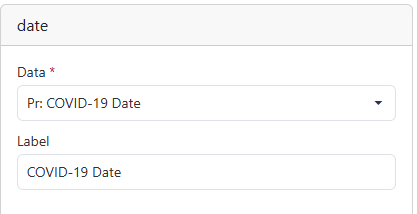
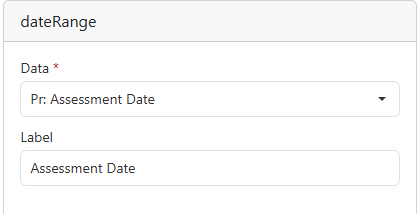
b.Pick a widget
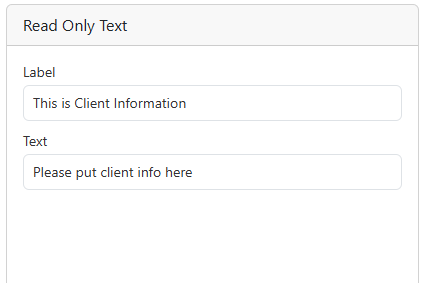
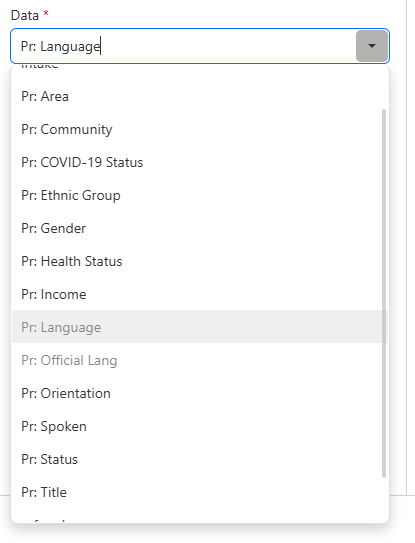
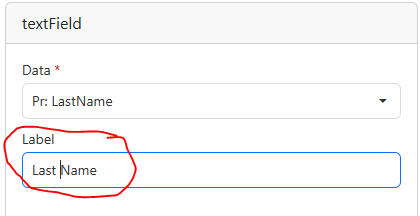
c.Once you have selected your widget, select the data drop down to change what the data is going to be. Different widget types have different data types to choose from.
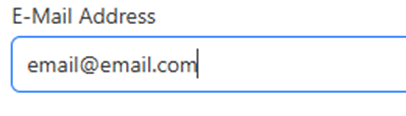
d.Change the label to what you want to see in the Template Entry.
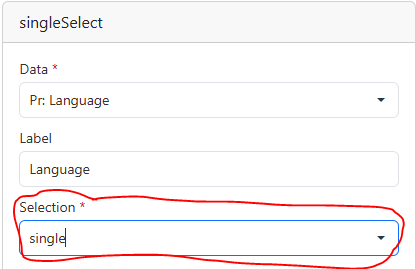
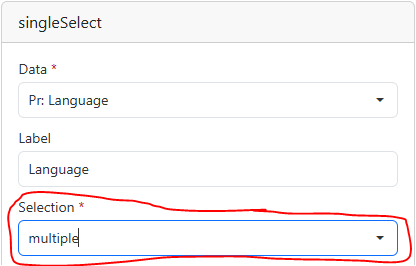
e.If the widget is a drop down, you can set the drop down to select single or multiple entries.
|


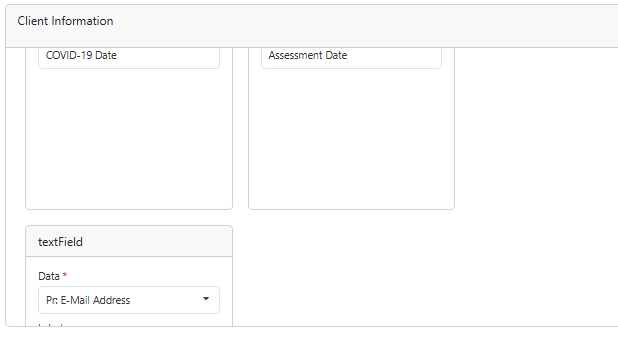
To reorganize Widgets drag and drop the Widget where you would like it to go.
|
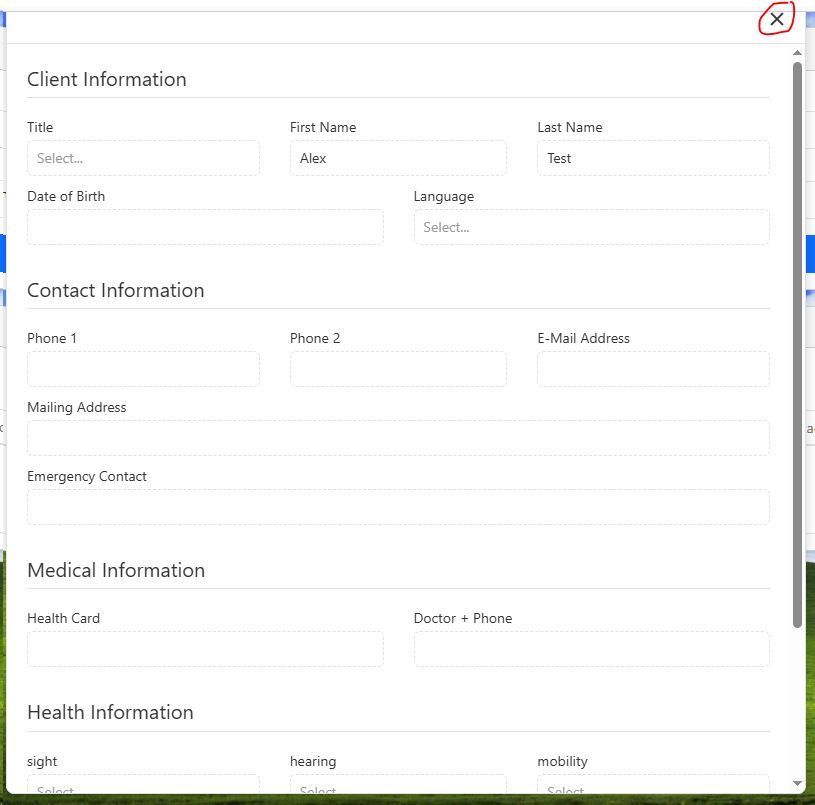
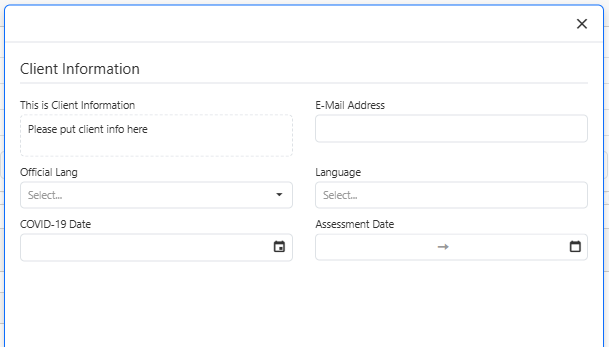
a.With the Template open click the Preview button.
b.A new window will open displaying the template
c.To close the preview window press the x Button. |

a.Note we recommend saving the template often
1.Click the Save button.
|
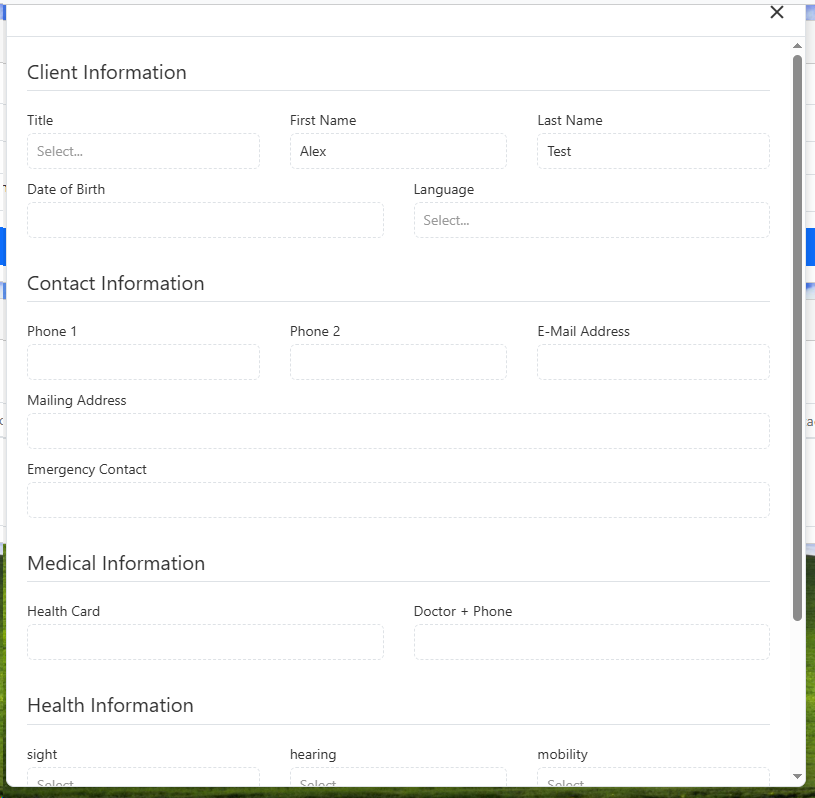
8.Open a profile using the Template Entry
a.Select the Template Type b.Select the Template Name c.Select the person button to create a new profile
d.Fill in template with the client’s information e.Click the Save button
|


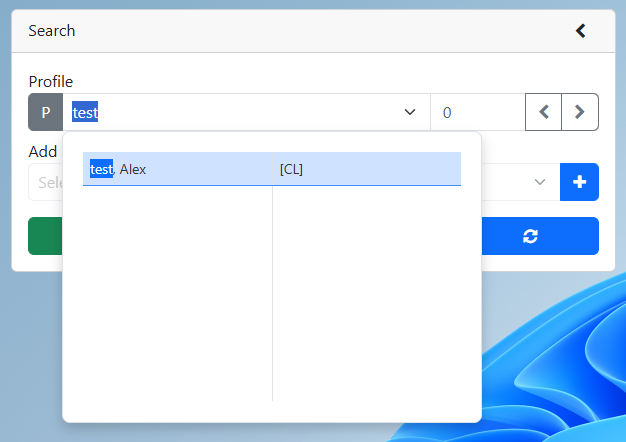
a.Select the Template Type b.Select the Template Name c.Fill in the Profile Search area with either a name or the profile number d.Click the Magnifying Glass button to search for the profile
e.The profile information will populate the template. f.Update the relevant fields g.Click the Save Button |

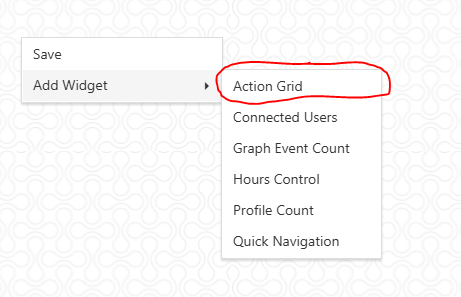
9.Pull in the profile using the Action Grid
2.
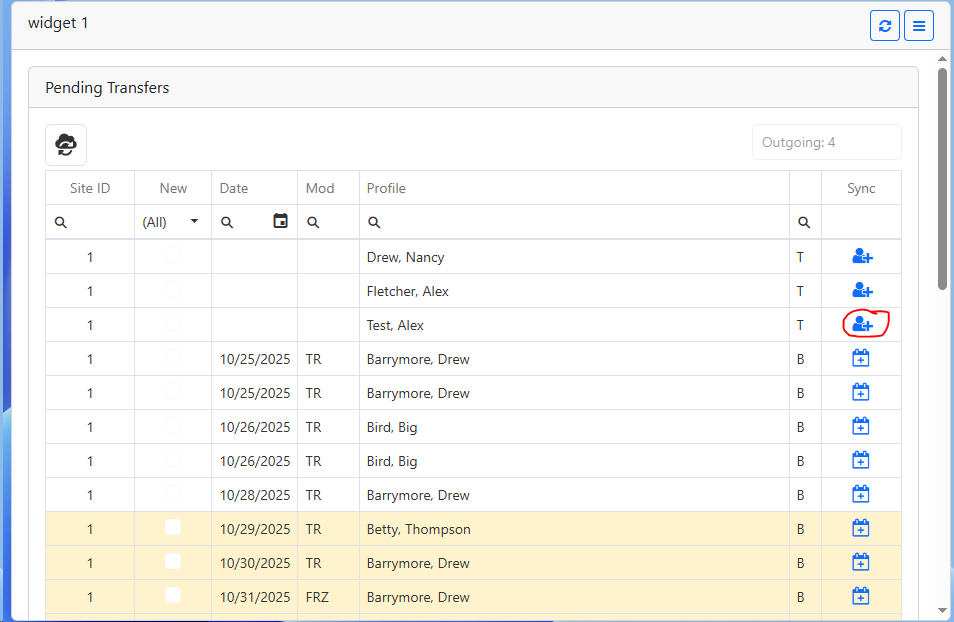
3.Click the button beside the persons name
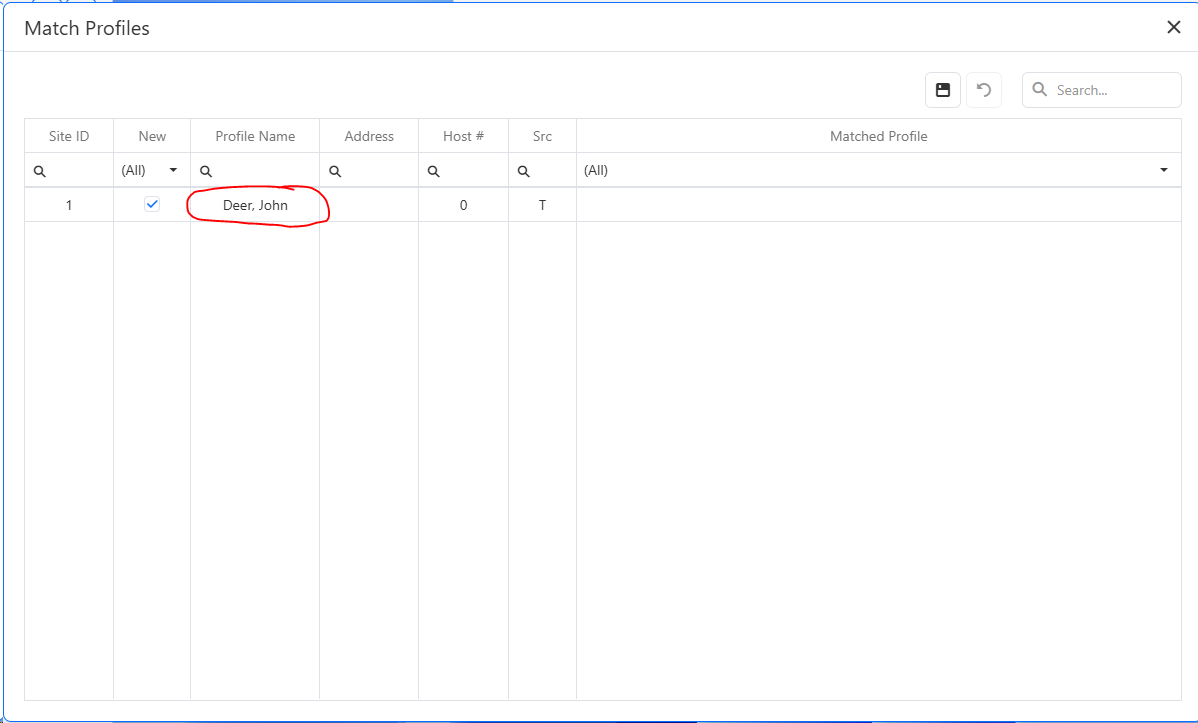
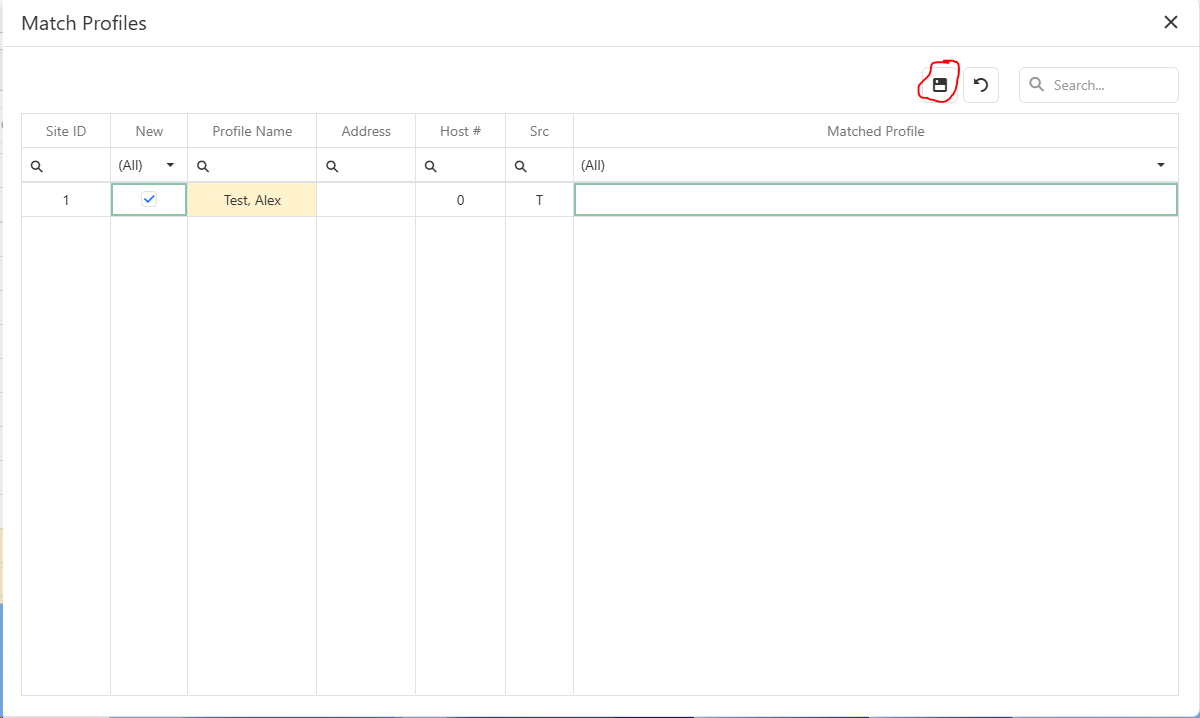
4.On the match screen a.If the Profile name is white then the profile has not been matched to an existing profile
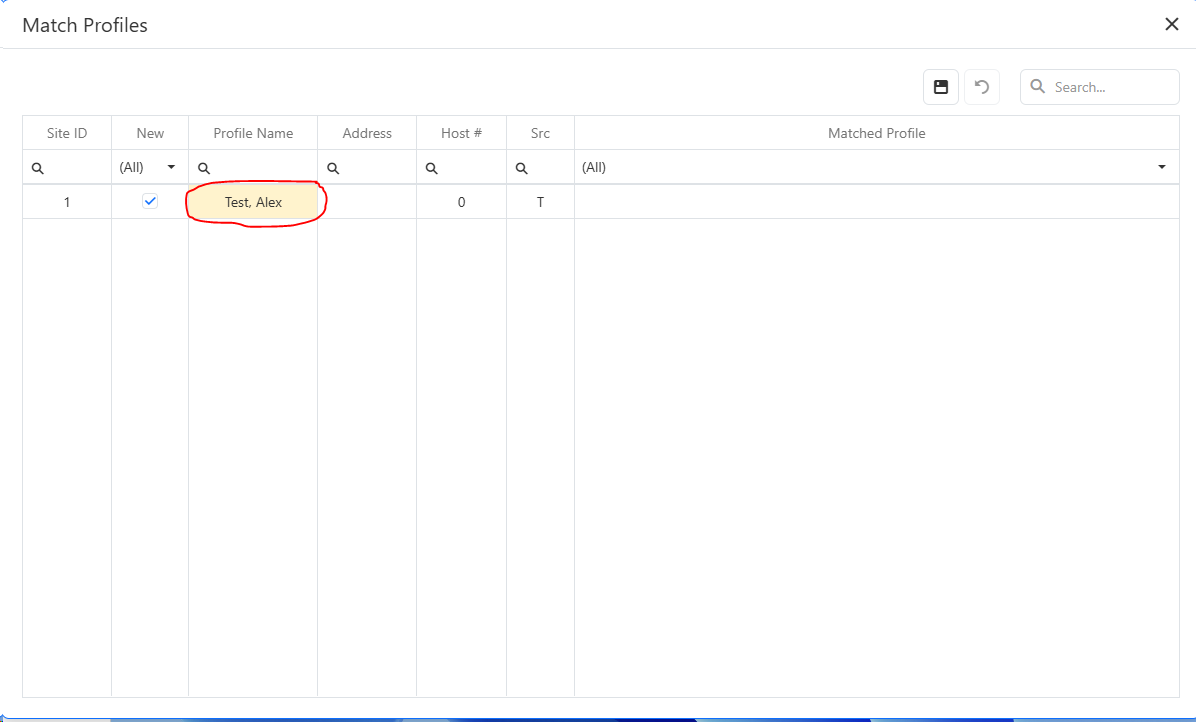
b.If the Profile name is yellow then the profile has been matched to an existing profile
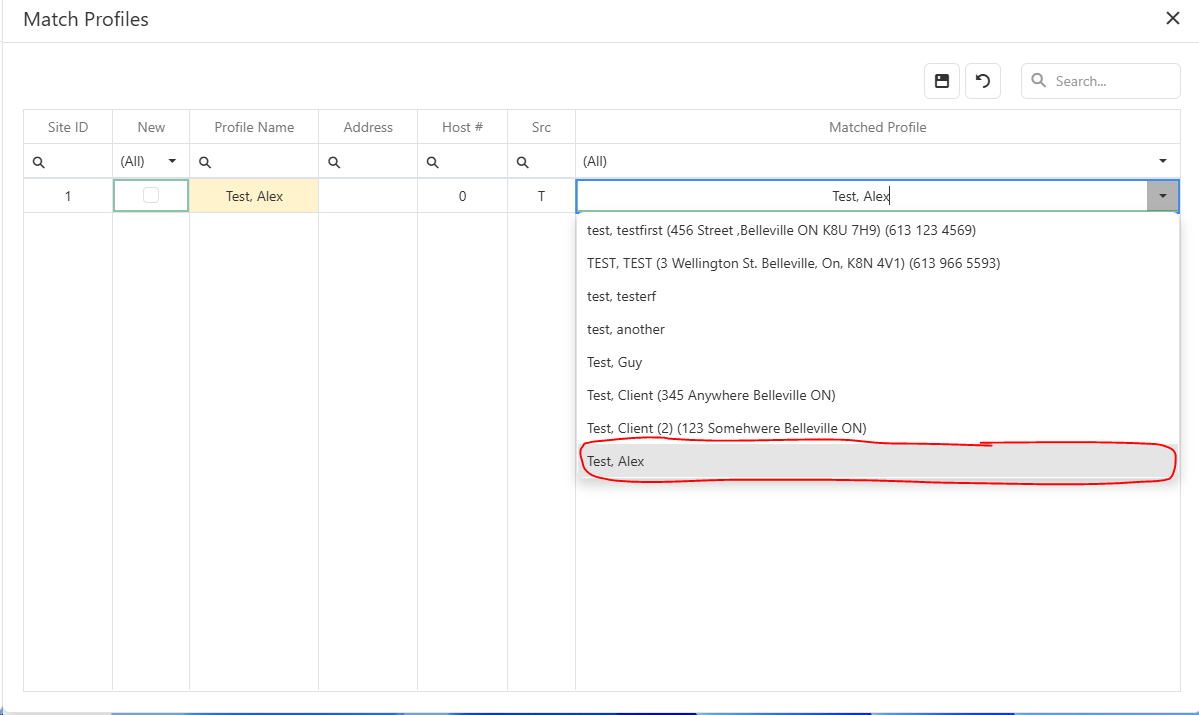
i.Double click on the Matched Profile field 1.If the profile matches an existing profile (name and address), select the profile from the list
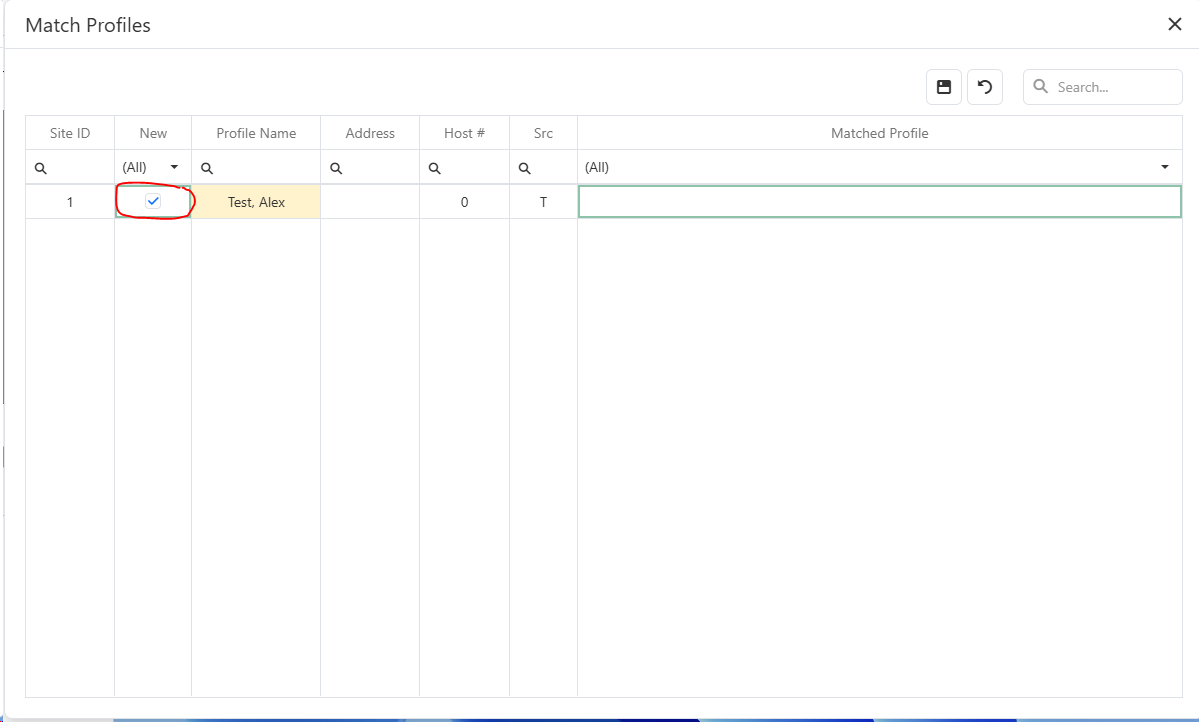
2.If the profile does not match an existing profile (name and address), make sure the New check box is selected.
5.Click the save button
6.The new profile and case note are created. |

10. Open the new/updated Profile in the Profile Editor
2.Enter the profile number or the profile name into the profile search a.Click the clients name from the drop down if you are entering the profile name
b.If entering the profile number click somewhere else on the screen 3.Profile is displayed |
11. Open the Template Entry case note
3.Click the blue arrow button on the case note
4.A preview of the filled in template will pop-up
5.When you are finished viewing the template click the x button in the corner
|